Verified AI summary ◀▼
Manage end user settings to control access and enhance security. Configure who can submit tickets, require user registration, and use allowlists and blocklists for email domains. Enable authentication for API endpoints to prevent spam, and allow users to edit profiles and change passwords. Validate phone numbers and enable user tagging for better workflow management.
On the End users page, you can select the settings that affect how your users access and use Zendesk.
- Accessing and managing end user settings
- Selecting who can submit tickets
- Requiring authentication for the Requests and Uploads API endpoints
- Requiring that your users register to use Zendesk
- Controlling access to Zendesk Support with the email allowlist and blocklist
- Registration message and verification email notifications
- Sending the email verification message to users you add
- Allowing your end users to edit their profiles and change their passwords
- Validating phone numbers
- Enabling user tagging
Accessing and managing end user settings
You can configure end user access to determine how open or restricted Zendesk is to your end users. There are variations of the access configurations, depending on how you want to set up your account. For example, you can allow anybody to submit tickets, require registration, and also restrict access using email domains or IP restrictions. These configurations are also affected by using both social media and enterprise single sign-on (see Single sign-on (SSO) options in Zendesk).
To manage end user settings
- In Admin Center, click
 People in the sidebar, then select Configuration > End users.
Selecting who can submit tickets
The Anybody can submit tickets setting is one of the most important end user settings because it determines which users can access and use Zendesk. You can allow anybody to use your Zendesk account, close it to all but the users you add, or restrict the use of your Zendesk account to just users from specific email domains or within a range of IP addresses.
These configuration options are referred to as open, closed, and restricted and are explained in the following articles:
Requiring authentication for the Requests and Uploads API endpoints
If you're receiving spam from the Requests (/api/v2/requests) and Uploads (/api/v2/uploads) API endpoints, you can turn on the Require authentication for requests and uploads APIs setting.
When this setting is turned on, authentication is required for these endpoints. When this setting is turned off, anonymous requests are allowed. Other endpoints are not affected by this setting.
Although it's highly effective at preventing spam, requiring authentication makes it harder for end users to open tickets anonymously. Some methods of ticket creation, such as the Zendesk Web Widget Contact form, custom apps, and external web forms, rely on the unauthenticated anonymous ticket creation process to submit tickets. Requiring authentication for the Requests and Uploads endpoints will prevent the creation of anonymous tickets from these sources. The Require authentication for requests and uploads APIs setting is turned off by default and can only be turned on in Admin Center.

Requiring that your users register
The default configuration of the help center displays the Sign Up page and allows your users to optionally create a user account. To require users to register and create an account, enable the Ask users to register setting. When creating an account, the user's email address must be verified. Until it is, any support requests they make (via the support request web form, the Web Widget, or email) will be suspended and will not be added to your Zendesk views.
If you want to learn more about the registration process and the advantages of requiring registration, see Options for end-user registration.
If you don't want users to register, you can hide the Sign Up page. See Removing sign-in links from your knowledge base.
Controlling access to Zendesk Support with the email allowlist and blocklist
When anybody can submit tickets, you can use the allowlist and blocklists to restrict access to Zendesk Support. For example, you can accept user registrations and support requests from users who have email addresses in the email domains you add to the allowlist. You can then reject all other users by adding an asterisk (*) to the blocklist. If you're not setting up a restricted Zendesk, leave both the allowlist and blocklist blank.
The allowlist and blocklist are explained in more detail in Permitting only users with approved email addresses to submit tickets (restricted).
You can also control access using IP restrictions. See Restricting access to Zendesk Support and your help center using IP restrictions.
Registration message and verification email notifications
The Sign Up page in the help center contains a message prompting users to fill out the registration form.

You can customize this message on the End users (customers) settings page by editing the User registration message. You can also add dynamic content to this message. See Providing multiple language support with dynamic content.
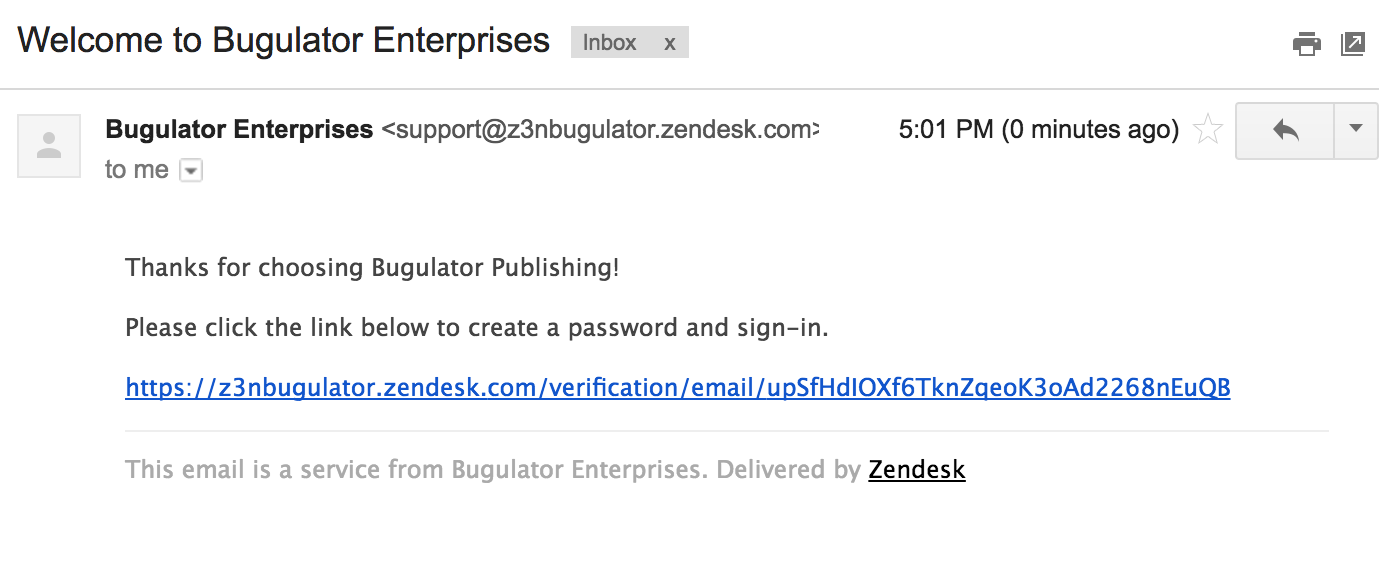
When your users register they receive a welcome email message (called the User welcome email) that prompts them to verify their email address and create a password so that they can sign in to your help center.
Users receive a similar email message (called the Email verification email) when they add secondary email addresses to their user profiles. Both of these messages can be customized and both support dynamic content.
Sending the email verification message to users you add
You can also send a welcome email when a new user is created by a team member. This is the same email message shown in the previous section. When you add a user yourself you'll probably also want the user to verify their own email address and then create a password so that they can sign in to Zendesk. Of course you may not want to enable this setting since Zendesk offers many access, registration, and sign-in options, including single sign-on.
See the following topics for a more detailed description of using the Also send a welcome email when a new user is created by an agent or administrator setting:
Allowing your end users to edit their profiles and change their passwords
Users are also allowed to change their password by default. You would normally want your users to be able to change their own passwords, but you should turn off this option if you administer users and passwords in another system and use remote authentication.
To turn off either of these settings, see Turning off profile editing and password changes for end users.
Validating phone numbers
With this setting enabled, phone numbers added to user profiles must be in the internationally standardized E.164 format. E.164 numbers can have a maximum of fifteen digits and are usually written as follows: [+][country code][subscriber number including area code]. Numbers that don't conform to this format won't save to user profiles.
Enabling user tagging
Enabling user tagging allows you to add tags to a user's profile. These tags are then added to the user's tickets, which you can then use to control your workflow. For example, you can use a tag to escalate a specific user's tickets. The user does not see the tags that have been added to their profile.
For more information, see Adding tags to users and organizations.